Introduction
In the camera settings lab we went thought the process of learning the camera settings with a DJI Mavic pro two. We conducted this lab to ensure that we would be comfortable with changing the camera settings to ensure that we could capture the best data for the given conditions while operating a UAS. We focused on changing the aperture, shutter speed, and the iso. We took note of what happens when each setting is changed and why one would change the settings.
Methods
We first took a picture with the auto settings (figure 1) to have something to compare what happens when you change the settings on the drone. In this picture you can notice that the image has a few parts that are over exposed like the windows and the door, but for the most part this is a perfectly fine image. This photo allowed us to get a good baseline for when we changed our other settings so we will refer back to it.
 |
| Figure 1, Auto Settings F2.8, SS 1/30, iso 100 |
Aperture
Next we then adjusted the aperture, which changes the amount of light that is allowed to hit the sensor. We started with an aperture of F2.8 and we set the shutter speed to 1/50 and the iso to 100. We kept the shutter speed and iso at those settings for all of our photos so aperture was the only variable. In the first photo (Figure 2) the image is properly exposed, but with a shutter so wide open you loose focus in some of the closer items like the table that the Mavic is sitting on. For the next photo we took (Figure 3) we used an aperture of F3.2, the photo appears slightly darker as there is less light hitting the lens and a little more detail comes back in the foreground. This image (Figure 3) is still exposed well and would still work out for collecting data. Then we proceed to move into the larger apertures, F5, and the image (Figure 4) is a lot darker and underexposed as the lens is receiving about half of the light that it received in the first image (Figure 2). Another thing to note about the image (Figure 4) is that you can see a lot more detail in the table than the first image (Figure 2) which as a characteristic of the smaller aperture.
 |
| Figure 2, F2.8 |
 |
| Figure 3, F3.2 |
 |
| Figure 4, F5 |
Shutter Speed
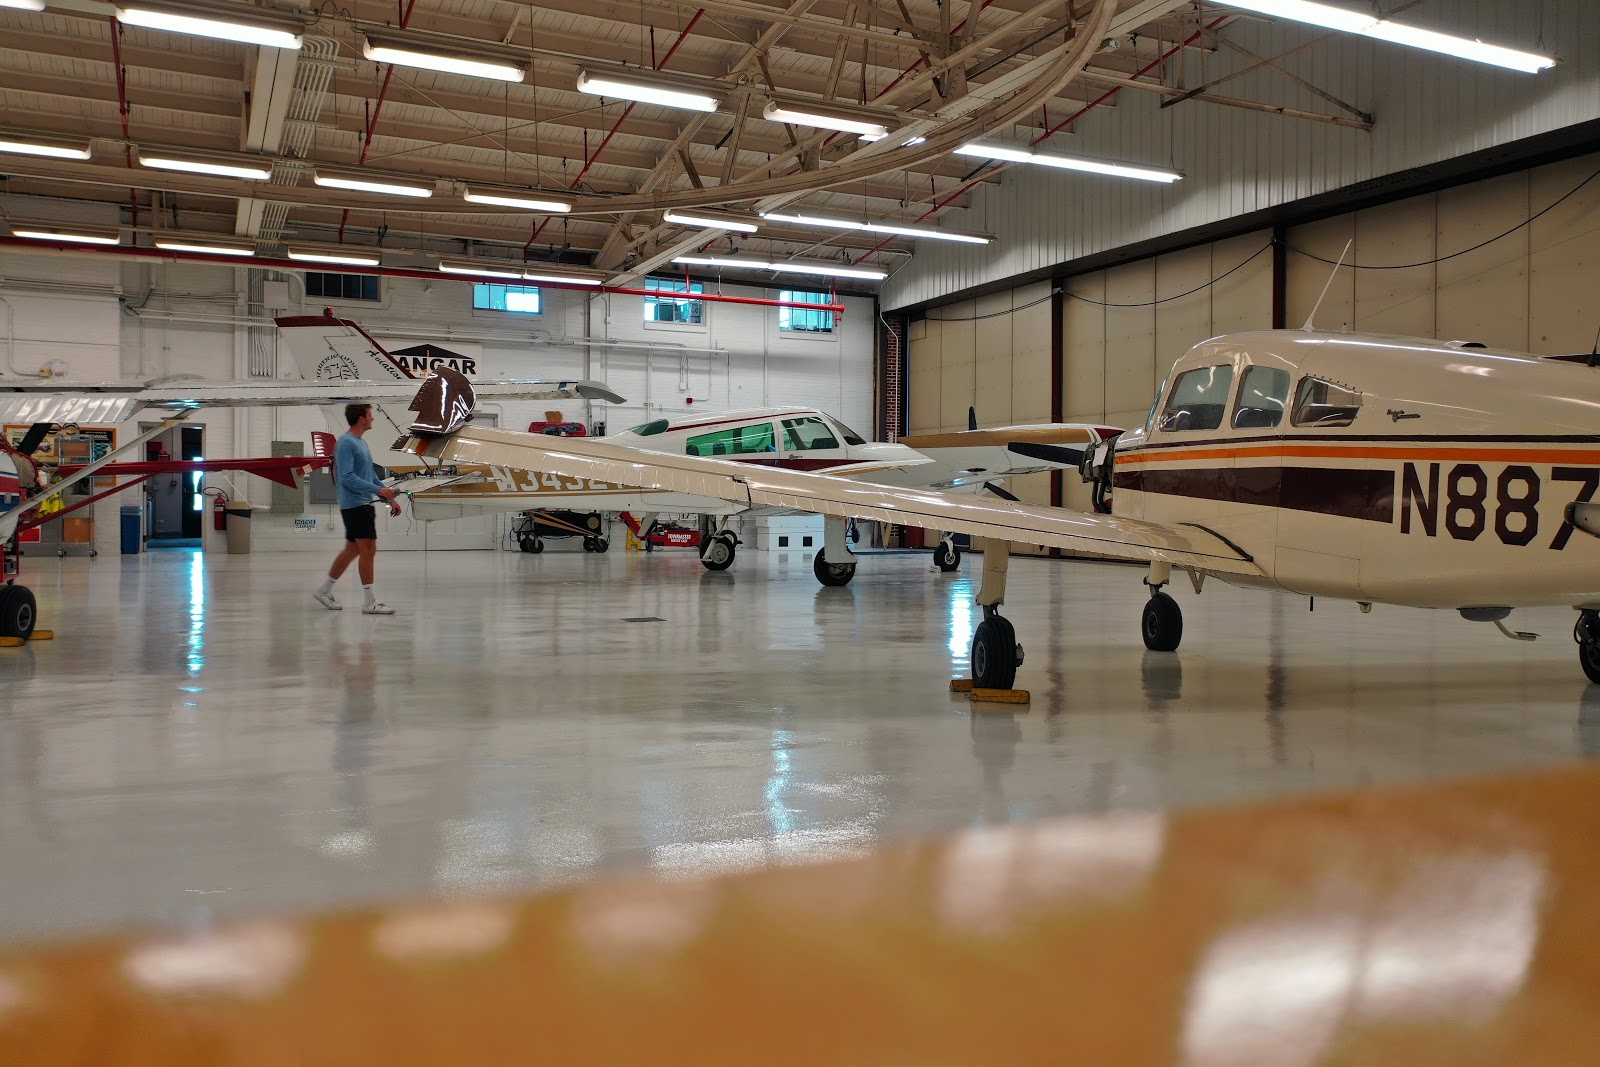
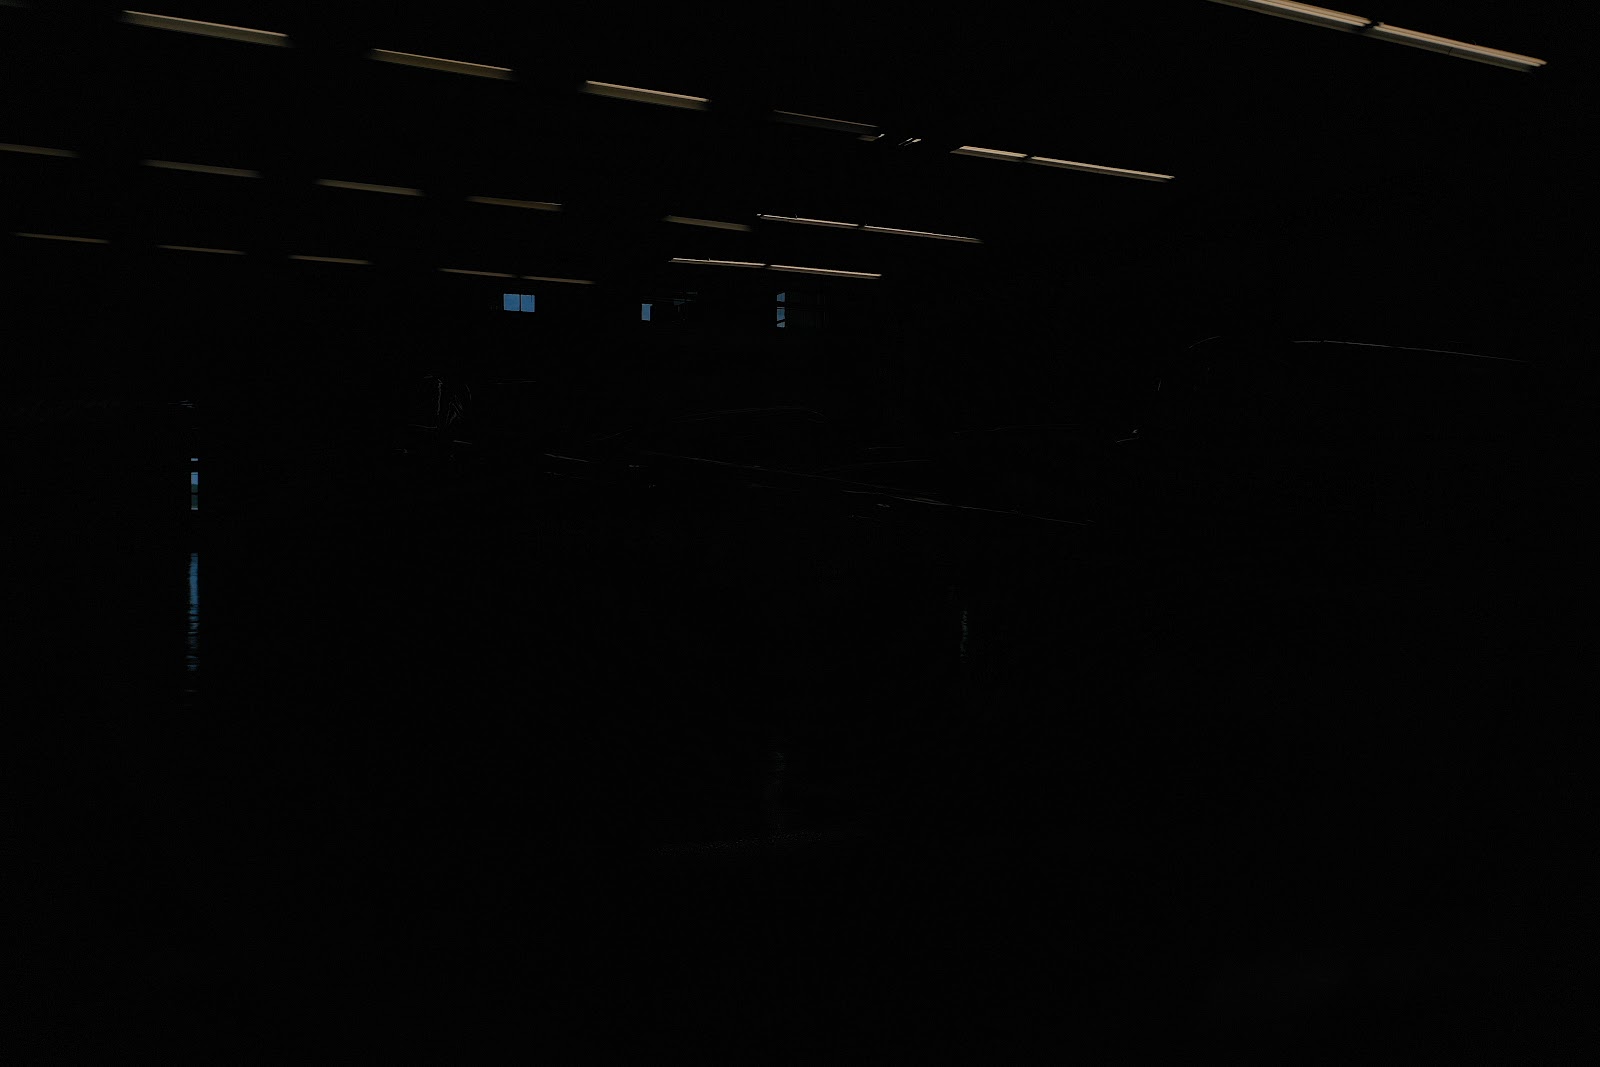
For the shutter speed we started at 1/8000 of a second and went all the way to 8 seconds. The one we took with a shutter speed of 1/8000 (Figure 5) was extremely under exposed all that is visible in the image is the lights. With the sever under exposure in the image (Figure 5) no data could be gathered from that image and it could not be corrected in post, where as the slight under exposure of another image we took (Figure 6) you could correct the image with post processing. With that image (Figure 6) a shutter speed of 1/200 improved the brightness of the photo, but it is still under exposed and would reduce the quality of the data to be collected from the image. Next we changed the shutter speed to 1/40 and the exposure of the photo (Figure 7) was good, the whites were not blown out and the details in the shadows were still able to be seen. In the next image (Figure 8) with a shutter speed of 1/20 it still has an okay exposure, but the whites are starting to lose detail in the center of the photo, one of the first signs of over exposure. In the next photo (Figure 9) with a shutter speed of 1/6.25 you can see that it is really over exposed and all the colors and details are washed out, with this amount of over exposure you could not correct the photo in post and this data would be essential worthless. A part of shutter speed that was not tested in these photos was motion blur, it is important to note that shutter speed needs to be changed to account for the speed of the drone or object that is being filmed. A slow shutter speed like 1/8 will cause objects in motion to drag and can cause issues for the data as the objects would be stretched out.
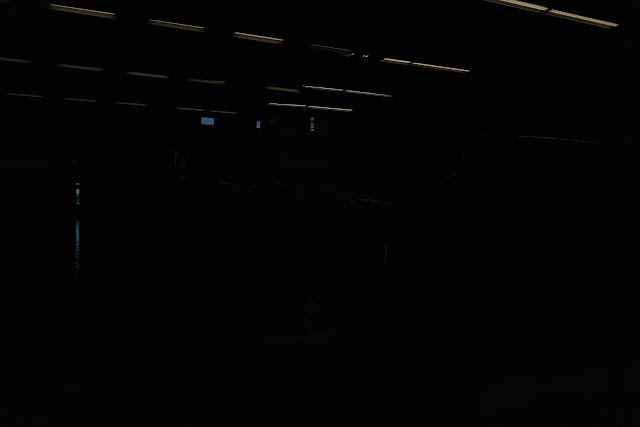 |
| Figure 5, Shutter Speed 1/8000 |
 |
| Figure 6, Shutter Speed 1/200 |
 |
| Figure 7, Shutter Speed 1/40 |
 |
| Figure 8, Shutter Speed 1/20 |
 |
| Figure 9, Shutter Speed 1/6.25 |
ISOFinally we took pictures while adjusting the ISO of the camera. We started at 100 iso and went all the way up to 12800 iso. For the first image (Figure 10) we had an iso of 100, which had a good exposure with low noise. For the second image (Figure 11) we set the iso to 200, this image was a little over exposed and their is reduced clarity in the bricks on the wall in the center of the image. For the third image (Figure 12) we had an iso of 400, this caused a really over exposed photo with high noise and grain in the image as the sensors sensitivity is higher at a 400 iso.
 |
| Figure 10, ISO 100 |
 |
| Figure 11, ISO 200 |
 |
| Figure 12, ISO 400 |
Discussions
During this lab we tested many different camera settings by changing the aperture, shutter speed and ISO. While we changed the values of each of these individually we got a basic understanding of what each setting does, we could have learned more if we then went and used them together in different ways to get different looks for a photo. I think that this is important because if you can brighten a photo by opening the aperture or increasing the shutter speed you will have a better photo than just adjusting the ISO to brighten it as it will get grainy and noisy. We also had the mavic 2 set to auto focus when it would do better in some of these photos with manual focus.
Conclusion
In conclusion, this lab taught me to effectively change the settings on the dji mavic 2's camera to achieve the best photo to collect data from. Correctly setting a camera is very important because failing to do so could leave hours of post processing data, especially if it was a mapping mission and you have to manually correct each photo. Even worse not correctly setting a camera will lead to unusable photos from a mission, which will cost you time and money. I now have a new process for setting my camera settings in a 3 step process to help get better photos and data. 1. Set aperture to ensure that the depth of field is what is required 2. Set shutter speed to ensure photos are crisp and that they do not have any artifacts.


Comments
Post a Comment